The goal of this article is to
provide the framework within Visual Studio and SSDT to generate the desired output. Within Visual Studio SSDT the tool leverages a publishing model. This means that the build and deployment of the SSDT solution is run by clicking on the publishing action within a project or solution. But what if you want a build server to produce the artifacts for deploying your solution to a development server or as part of a deployment package to be installed at a later date? The idea is simple however getting it to all work together in Visual Studio can be a bit confusing. I will document the steps I needed to take to get this all working in Visual Studio 2015 SSDT. Note this will also work with previous version of Visual Studio however I would not go older than Visual Studio 2012.
To make this work you will be unloading and editing the project definition file (it is an xml file). I strongly suggest you have your project / solution in some sort of source code control system in the event you make a mistake and are unable to open the file.


To make this work you will be unloading and editing the project definition file (it is an xml file). I strongly suggest you have your project / solution in some sort of source code control system in the event you make a mistake and are unable to open the file.
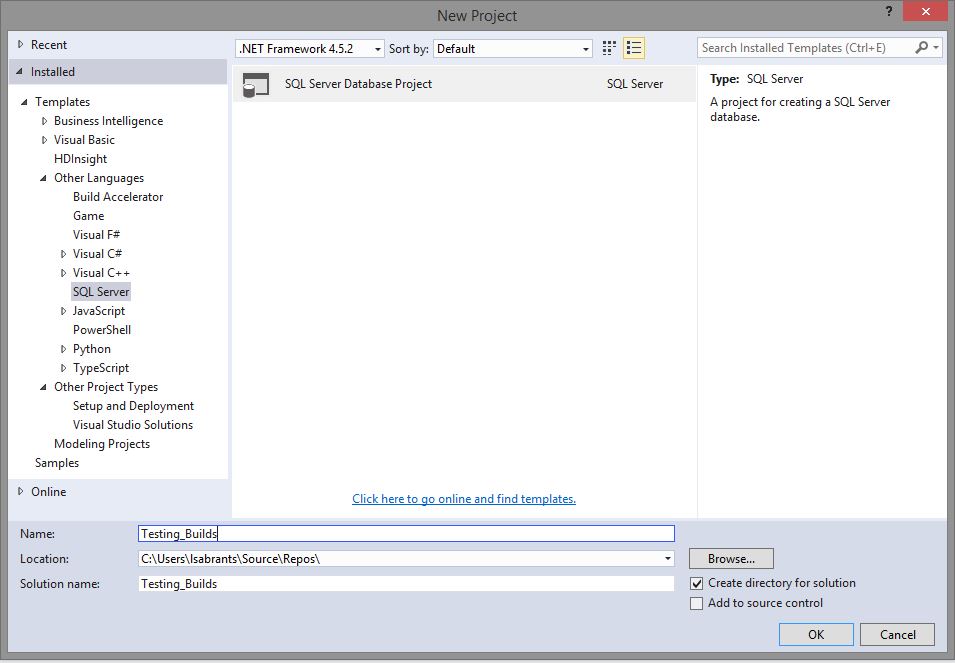
Start by creating a new Visual
Studio database project (I will add mine to GIT later)
Here you can always
point to an existing database and import the objects into your current project
or start something from scratch.
I will just create a
couple of sample objects.
Visual Studio will
use a publish profile against a configuration when you publish. As a standard practice I always create a
build configuration that is more meaningful than the included ones.
For example I create
a Sandbox build configuration - I use this build configuration when I publish
locally. I also create some kind of
final release configuration. I will
create the Sandbox one here for illustration.
Now Right click on
the project and click the Publish option.
This will bring up a dialog box where you will enter values specific to
that environment. These are the
boilerplate options, any parameters and options you enter later on can be
passed in with MSBuild.
Save this profile in
the project for ease of use later on, I give them logical names, for example:
Sandbox.publish.xml
When Visual Studio
publishes a project it will also rely on Pre and Post deployment scripts. These scripts will executed in the Pre and
Post deployment events. You can do things
like populate code tables, drop old objects that you do not want to
automatically drop, make data changes, etc.
For today we will just execute a query that will select from the 1 table
I created.
So I create a set of
folders under a Scripts folder. These
folders will contain a set of special files that will have their Build Action
properties set. Name the folders Post-Deployment
and Pre-Deployment.
To get the process
to copy and move files depending on the build type specified we need to add a
few files to the following folders:
In the
Post-Deployment folder I create new script files and call them something like
Custom.Sandbox.PostDeployment.sql
Custom.Release.PostDeployment.sql
(If you need other
build configurations you would create additional files as needed to support the
other configurations)
What is important is
that you can tell which file is for a specific Build Configuration. If you wanted to do something in Sandbox but
not in Release the content of these files would be different.
In the
Pre-Deployment folder create files called
Custom.Sandbox.PreDeployment.sql
Custom.Release.PreDeployment.sq
I have added two
additional files to help with the demo.
Select_One.sql and Select_Two.sql
Each one of these
files will be executed based on the different configuration that is chosen so
we can see how our configurations are being applied.
Here is the content
of the Select_One.sql file
--
This is from the Select_One script code - it will just select 1.
SELECT
1 FROM dbo.SampleTable
Here is the content
of the Select_Two.sql file
--
This is from the Select_Two script code - it will just return A and B.
SELECT
'A' AS rSet
UNION
SELECT
'B' AS rSet
Now we will edit the
project file to enable the creation and copying of all the files during the
build.
Right click on the
project file and choose "Unload Project" Right click the unloaded project file and
select "Edit…"
We are going to add
a section to the project's XML file.
This will allow for copying the files over to the output during the
build from a configuration.


This is defining the actions to be taken during the build based on the configuration passed in. When you select Sandbox the build will take
our Custom.Release.PreDeployment and Custom.Release.PostDeployment files and copy
them over to the generic pre and post deployment files. So if you want to run some code as part of
the pre and/or post deployment the definition of what to run will be in there.
Once you are done
save the file and then Right click the project file and Reload it.
Now you can Right
click the project and say Build, take note of the project configuration you
have selected.
If you were able to
successfully build the project you can then go to the Post-deployment folder
and add the Script.PostDeployment.sql file by right clicking the folder and
saying Add Existing file -find the
Script.PostDeployment.sql and add it, do the same with the Pre-Deployment
folder.
It is important to
make sure you check the properties of these files. The property we are concerned with is the
Build Action property. For these two
files we want to make sure they are set to PostDeploy and PreDeploy (obviously
each based on the name). This tells the
build process to include these files as part of the output and when they should
be run
Remember that doing
something Pre-Deployment means that when you deploy this will be one of the
First things to happen. So if you need
to move data during a release from version to version you could do that here
before the objects are dropped in a Post-Deployment script.
Now to make it so
you can have custom actions based on a build configuration and based on Pre or
Post deployment events
edit the
Custom.Sandbox.PostDeployment.sql file and add the following:
":r
..\Select_One.sql" - without the
quotes
Save this file
This is a SQLCMD
that is telling the build process to move up one path and load up the contents
of the Select_One.sql file. This will
write the contents of this file inside the Script.PostDeployment.sql file. This is one of the files that SSDT will use
to create our final output script or to actually publish to a destination
server. The contents are also part of
the .dapac file that can also be later deployed using SQLCommand.exe.
Now click on the
Sandbox.publish.xml file and click Generate Script. In the output window you
should see the script that was created.
If you scroll down though the script you will see a bit of the magic. You should see the same code that is in the
Select_One.sql file!
"-- This is
from the Select_One script code - it will just select 1.
SELECT 1 FROM
dbo.SampleTable"

You can also make
changes to the Custom.Release.PostDeployment.sql file and add the following
":r
..\Select_Two.sql" - without the quotes
Save the file
Change your
configuration to Release and click on publish.
This will create a new publish file and will allow you to publish under
the current configuration. Click on
generate script. Browse the created
script file and towards the bottom you should see
"-- This is
from the Select_Two script code - it will just return A and B.
SELECT 'A' AS rSet
UNION
SELECT 'B' AS
rSet"

Once this script
file is executed it will run that code.
Now you have a
dynamic way to build your SSDT project file from MSBuild passing in a
configuration file and have the code execute exactly what you want when you
want it. This is very useful for loading
idempotent code table loads, moving data during deployments, cleaning up old
objects, etc.
No comments:
Post a Comment